Pages

Saturday, 5 April 2025

🍭 Birthday Calories Don’t Count! 🧁

Hello Tea Timers! I’m back today with a super fun slim-line card.

I have used the Time for Tea Designs Treat Yourself stamp set and coordinating dies. This set contains all the yummy, scrumtious spring & summer goodies you could need!
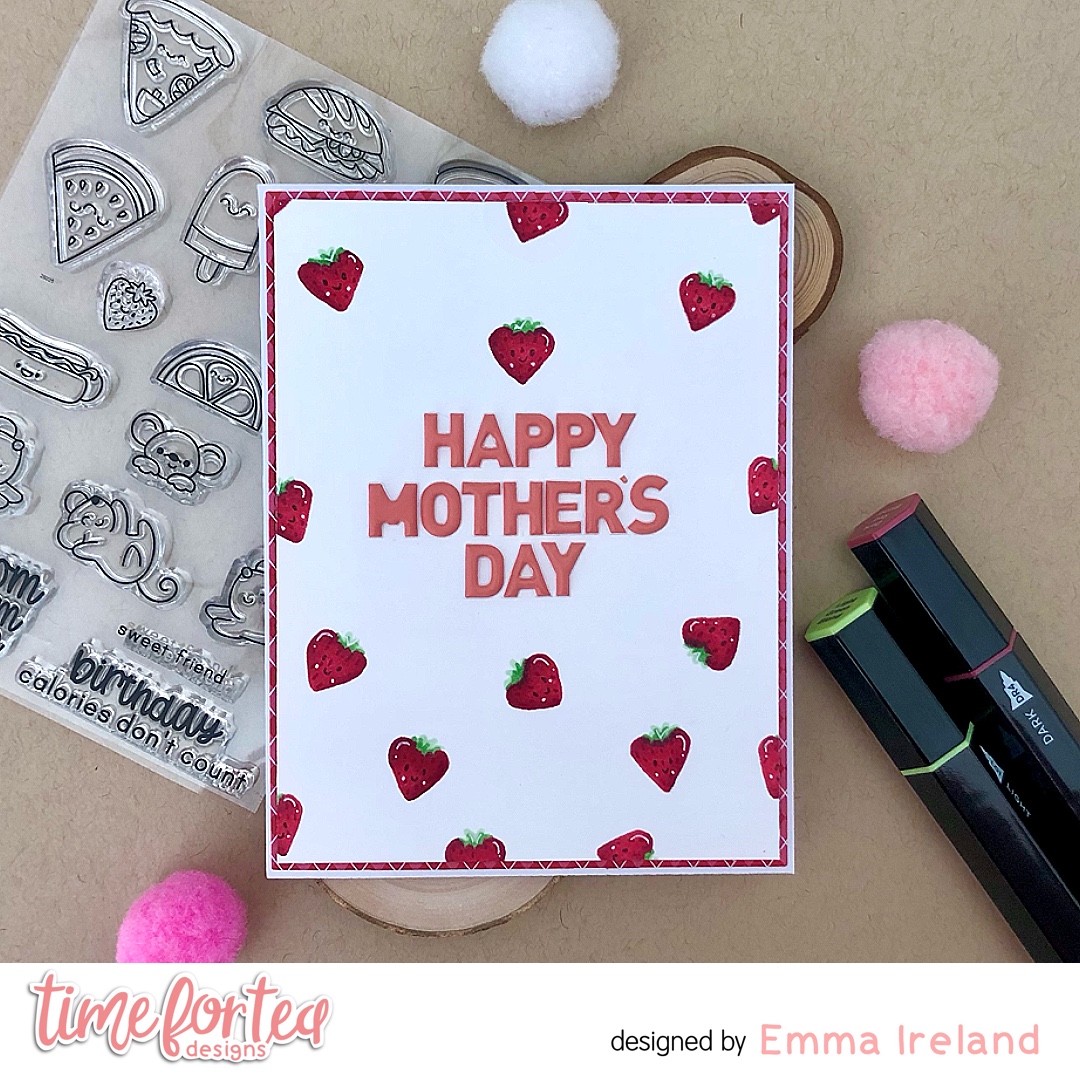
Time for Tea Designs


Making the card:

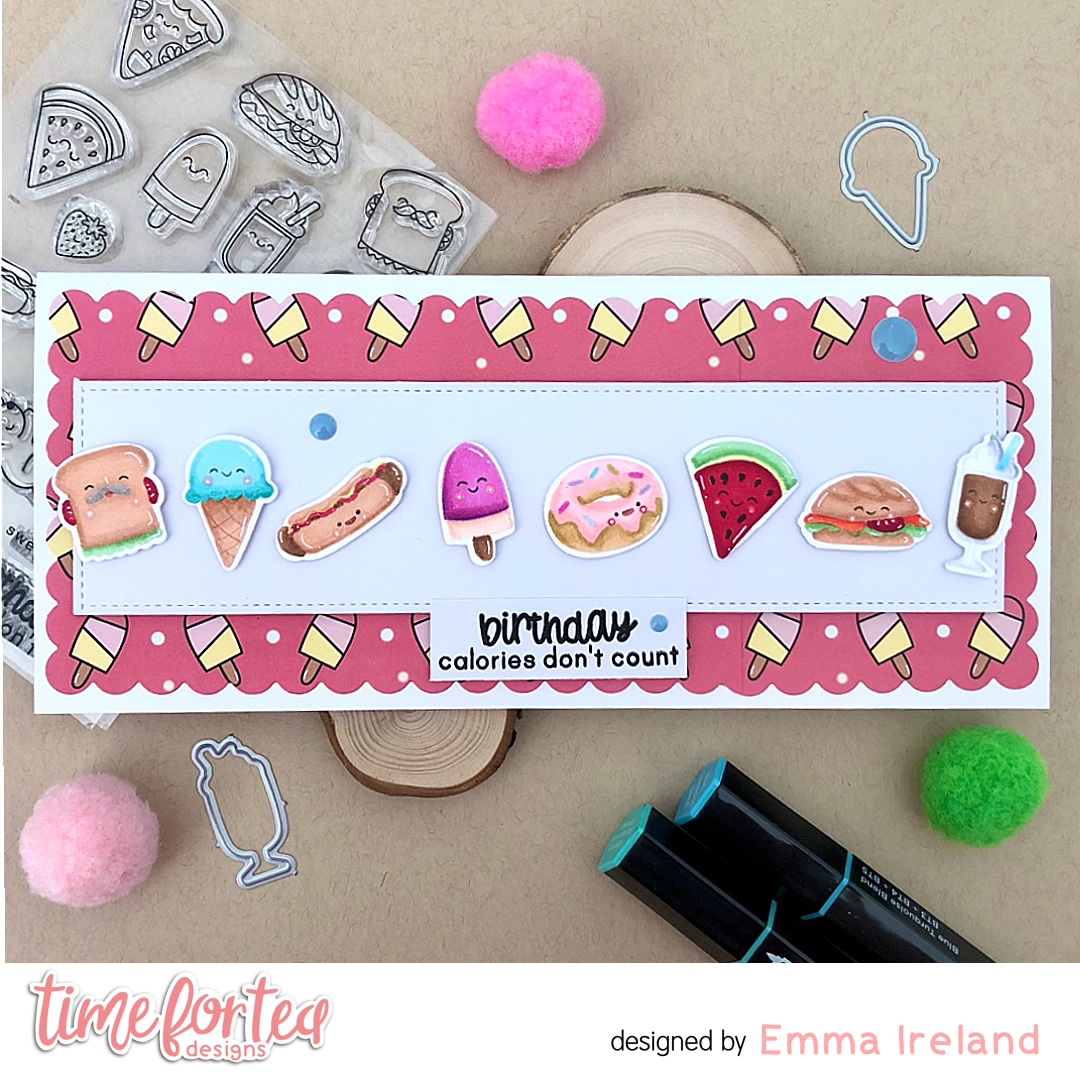
To create this card I have cut out a piece of Crafters Companion Solar White card and stamped my images from the T4TD ‘Treat Yourself‘ set with MFT Cement Grey ink. I then coloured them in with my Spectrum Noir Tri-Blend markers for that no-line look. I used the Coordinating die set to cut them out.

To create the background layers I have used 2 sheets from the T4TD ‘Sweet Summer’‘ 6×6 paper pad. I used the icecream pattern to layer the 2 pieces together until I had the size I needed and then I cut it down to complete my layer. I have cut a slim panel out of plain white card stock and used one of my stitch dies to create the edge.


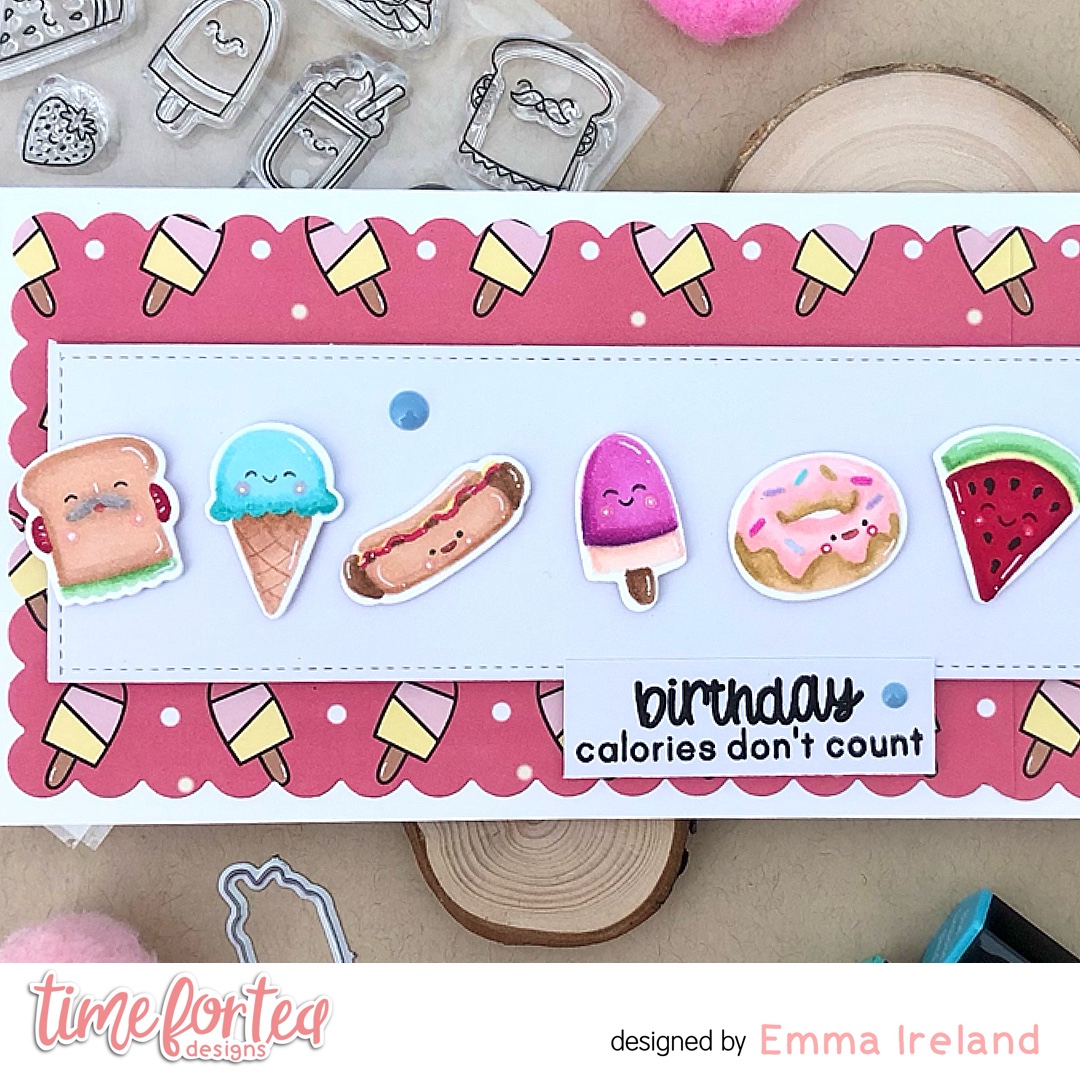
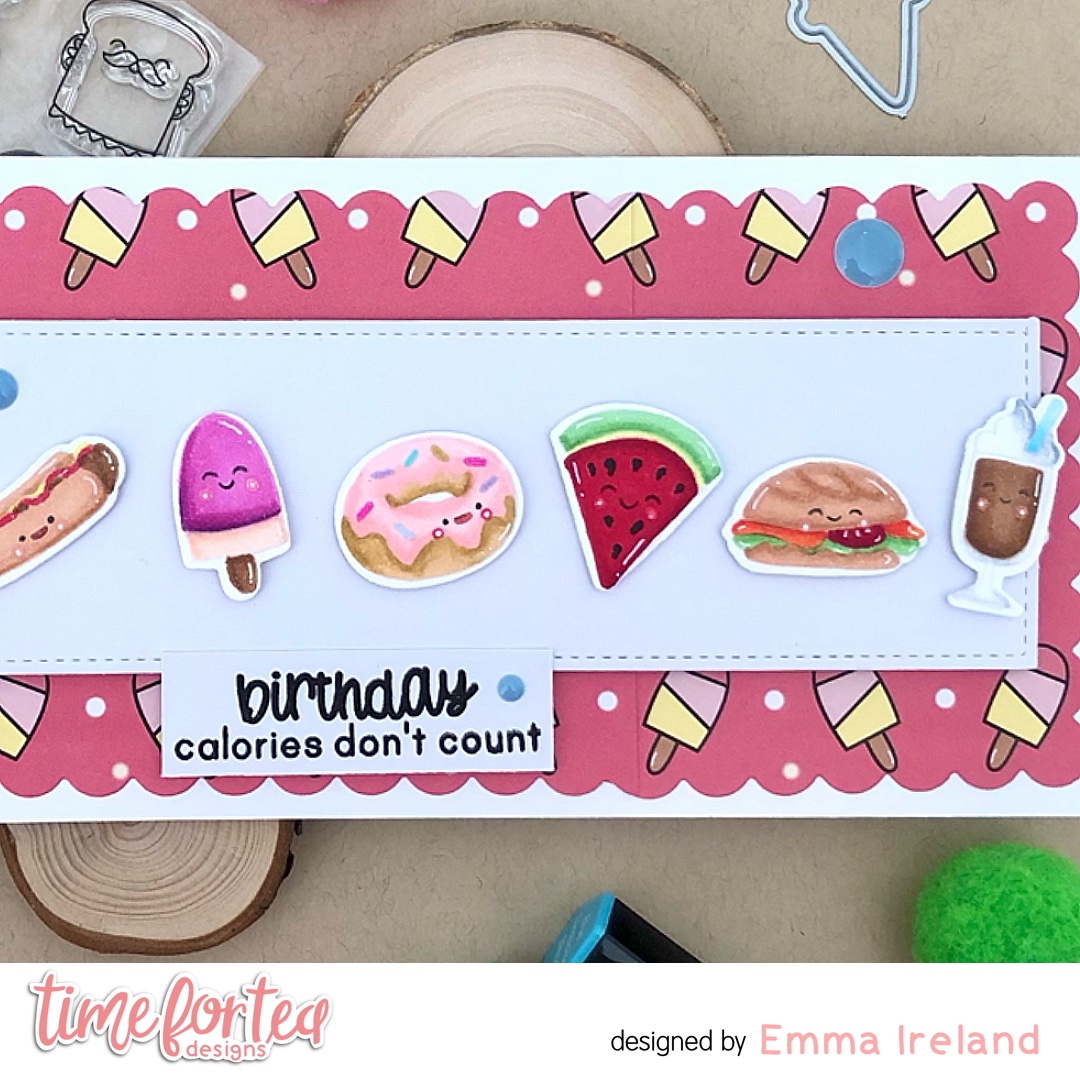
I used foam tape to pop up my slim white layer. I set out each little image until I was happy with my composition and then used my small foam squares to pop them up.

For the sentiment I have stamped it onto some scrap white card, with Versafine Onyx Black ink for a crisp finish. I cut it down to size with my paper trimmer and popped it with some foam tape.

For a finishing touch I added some T4TD ‘Festive Fun’ enamel dots. 


Thank you for visiting the Time For Tea blog today. For a 10% discount on your order, use my special code -  T4TIRELAND10

If you get chance, check out more inspiration from the amazing team.

Hugs, Emma xxx

Friday, 4 April 2025

Plaid Easter Wishes


Happy Friday, DT Annalisa here! April has arrived, and Easter is just around the corner! I'm excited to share a spring Easter card featuring the Easter Wishes Large sentiment die and the Eggstra Special Birthday stamp set.

To start, I trimmed a piece of the Pretty Pastels 6x6 Paper Pad to fit an A6 card base and secured it using double-sided tape.


Next, I die-cut white cardstock with the Sweet Scalloped Dies and A6 Simple Nesting Dies to create a thin scalloped frame. I attached this frame to the card base with liquid glue.

I then stamped several images from the Eggstra Special Birthday stamp set, colored them using Copics, and cut them out with the coordinating dies. I added accents with a white gel pen using a Gelly Roll Pen.

For additional elements, I die-cut vellum using the Stitched Circle Dies and Cloud Dies, adhering them to the card base with vellum adhesive.


For added dimension, I used double-sided 1mm foam tape to attach the stamped images.

I applied Gina K Designs Dusty Rose ink to a piece of white cardstock, allowing it to dry before die-cutting it with the Easter Wishes Large sentiment die. I then added white gel pen accents for an extra touch.

For more dimension, I die-cut the sentiment from white cardstock twice and adhered the layers together using liquid glue. I attached the sentiment to the card with more liquid glue.


To finish off the card, I added Summer Haze Designer Enamel Dots.

Thank you so much for reading my blog post! To get 10% off your order, use my discount code T4TANNALISA10 when you visit the Time For Tea Designs shop.

Wednesday, 2 April 2025

Easter Wishes - Greeting Card


Hey Friends, My name is Safia, and I am a new member of the Time For Tea Design Team group. It is such an honor to be here!

Today I am sharing my first card that I made using Time For Tea Design products. I am so in love with these products! I started off by using some blue colored cardstock and blending some darker blue ink onto it. I splattered with the same ink pad and some white acrylic paint when I was done ink blending

I then used the Geometric Snowflakes Cover Die to cut out my blue background. Once this was done, I used the Let's Chat Stampset to stamp and color in some cute critters. For this I did use Copic Markers. I then cut the Easter Wishes die twice in black and prism cardstock and layered it together to form a black shadow.


Last but not least I blended some Light Yellow ink onto my card base along with some black splatter and the glued my background peice on top using liquid glue. I also used some foam squares for my greetings and my critters. 
I hope you have enjoyed this card. Let me know what you think in the comments! Have a fabulous day!


Monday, 31 March 2025

Let's Party with Splatters


Hi. My name is Koren Wiskman and I am a brand new member of the Time for Tea Designs Design Team. I hope that I can inspire you to create something cool with all of these awesome T4T supplies. 

Today I am sharing an A2 size card (4.25in x5.5in.) The front panel is cut to 3.25in x 4.75in. This is my favorite size card to create. I have tried so many others but this size is the one that keeps my heart happy. My card bases are typically made using a neutral gray cardstock. I'm using the Time for Tea Designs Let's Party Sentiment Die to create this card. I should warn you, I enjoy my "white-space". My card designs can be all over the place, much like my personality. I hope you enjoy. 


BACKGROUND

To create the background I used various inks to spritz, splatter, and drip some color onto the panel. Some pink, black, and gold to be specific. It is popped up using craft foam and tear tape adhesive. 

SENTIMENT

The sentiment is the star of the show. The Let's Party Sentiment Die was cut out a total of four times using a tabletop die-cutting machine, and then layered together using liquid adhesive. The first three layers are thick white cardstock and the last layer is brushed rose gold metallic cardstock. 


EMBELLISHMENTS

I added three gold butterflies from my stash using glue dots. My stash is large, to say the least. I need to start using some of these products that I've acquired over the years. So, YAY! I used my stash! 

I hope that I've inspired you to create something today. Check out the Let's Party Sentiment Die in the T4TD shop. 


Koren 

Saturday, 29 March 2025

💐 Happy Mother’s Day 💐

Hello Tea Timers! Happy Saturday! I’m back today with this super quick, clean and simple Mother’s day card. If you still haven’t had chance to make yours yet, then today’s inspiration can help.

Just using the Time For Tea Designs Puffy Alpha Stickers and one stamp, in my case I have used the cute little strawberry from the T4TD ‘Treat Yourself’ set, you can create this simple design.

Making the card:

To create this card I have cut out a piece of Crafters Companion Solar White card. I have used the Time For Tea Designs Puffy Alpha Stickers – ‘Watermelon margarita‘ set to create my sentiment in the centre of the card. After completing the sentiment I stamped my little strawberry, from the T4TD ‘Treat Yourself‘ set, multiple times, in a random fashion, with MFT Cement Grey ink. I then coloured them in with my Spectrum Noir Tri-Blend markers for that no-line look. 

To create the background layers I have used one sheet from the T4TD ‘Joyful Winter‘ 6×6 paper pad. I adhered this with double sided tape, but for my main layer I popped it up on some foam tape.

SIMPLE YES! 😉


Thank you for visiting the Time For Tea Designs blog today. For a 10% discount on your next order, use T4TIRELAND10

Hugs, Emma xxx

Friday, 28 March 2025

Watercolour Easter Wishes


Hello and happy last Friday in March! DT Annalisa here sharing a watercolour Easter card featuring the Mini Egg Pattern Stencil and Eggstra Special Birthday stamp set.

To create the background, I soaked the Evergreen Bough, Chipped Sapphire, and Wilted Violet Distress Watercolor Pencils in water to soften them. Then, I scribbled the colors onto the back of the Mini Egg Pattern Stencil and spritzed it with water. After pressing it onto Distress Watercolor Cardstock by Ranger, I let the stencil sit for a while before removing it and heat-setting it.


Next, I added splatters using the same watercolor pencils and adhered the panel to a card base with double-sided tape. I then glued a frame made from white cardstock that I had die-cut with the Five Windows Cover Die over the watercolor panel.

I die-cut black cardstock using the Easter Wishes Large sentiment die for the sentiment. I also die-cut the sentiment in white cardstock two additional times. I used liquid glue to stack the layers together, creating dimension. I attached the sentiment to the card base with liquid glue.

I stamped and colored several images from the Eggstra Special Birthday set using Copic markers. After cutting them out with their coordinating dies, I added white gel pen accents with a Gelly Roll Pen. Additionally, the bird is from the Ewe Are Moovellous set.

To finish the card, I used thin 1mm double-sided foam tape to adhere the stamped elements.

Thank you so much for reading my blog post! Be sure to use my discount code T4TANNALISA10 when you visit the Time For Tea Designs shop to get 10% off your order.


Saturday, 22 March 2025

📚 Relax, Read, Repeat! 📚

Hello Tea Timers, DT Emma here! Welcome back to the T4TD blog! I hope you’re all having a great Saturday so far!

Today I’m sharing with you a super simple card and i’m using the ‘Book Buddies‘ and the ‘Treat Yourself‘ stamp sets. I really love combining my sets, I feel you can get more use out of your old/new sets this way.

Time for Tea Designs Shop

Making the card:

To create this card I have cut out a piece of Crafters Companion Solar White card. I stamped my images with MFT Cement Grey ink and then coloured them in with my Spectrum Noir Tri-Blend markers, using the no-line technique. For the sentiment I have stamped them with Versafine Onyx Black ink for a crisp finish. 

To create the layers I have used one piece of white card and one sheet from the T4TD ‘Sweet Summer‘ 6×6 paper pad. I adhered them with double sided tape, but for my main layer I popped it up on some foam tape.

For a finishing touch I added some ‘Festive Fun’ enamel dots. LOVE these!

Thank you for taking the time to read my post today, I hope it inspires you. For a 10% discount on your next order, use my special code -T4TIRELAND10

If you get chance, check out the rest of the Time For Tea Designs blog for more information and inspiration from the amazing team.

Hugs, Emma xxx

Other Posts You Might Like